
Hello everyone, I hope you are all having a fabulous Christmas break. Today I have a post showing how I designed and printed my design onto a mug using my new mug press from Cricut.
This is my very first attempt and I’m so pleased how easy it was and how fabulous it looks.
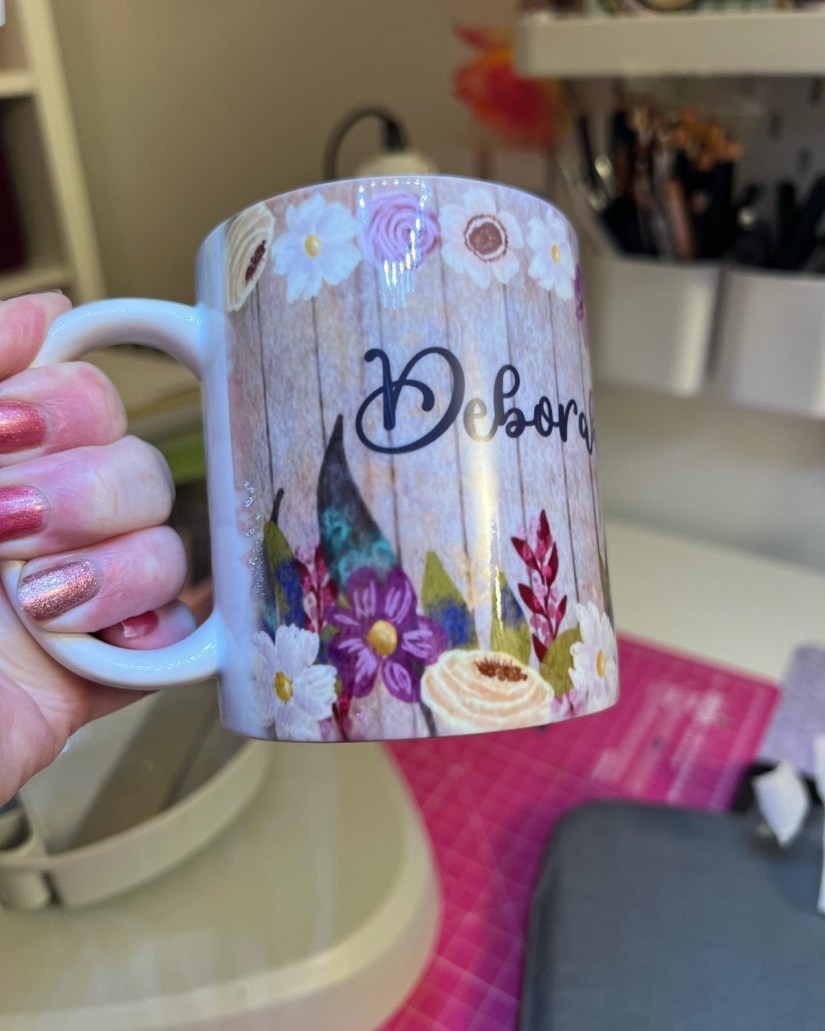
It was quite difficult to photograph it as its so shiny but here are a few more.
So lets start at the beginning,
In procreate I created my design, with is process because it had text you have to remember to mirror it otherwise it will print the wrong way round.

I saved the design to my photos and inputted it into Design Space, I sized it, and got it ready to print and cut but could not make design space find my new printer. So rather than spending ages trying to work out why, I decided to just print. Thats where the new printer came in.
So after many weeks of research I decided an Epson Ecotank was the way I wanted to go. I put a range on my Santa’s list was very pleased to find I got the ET 2826.
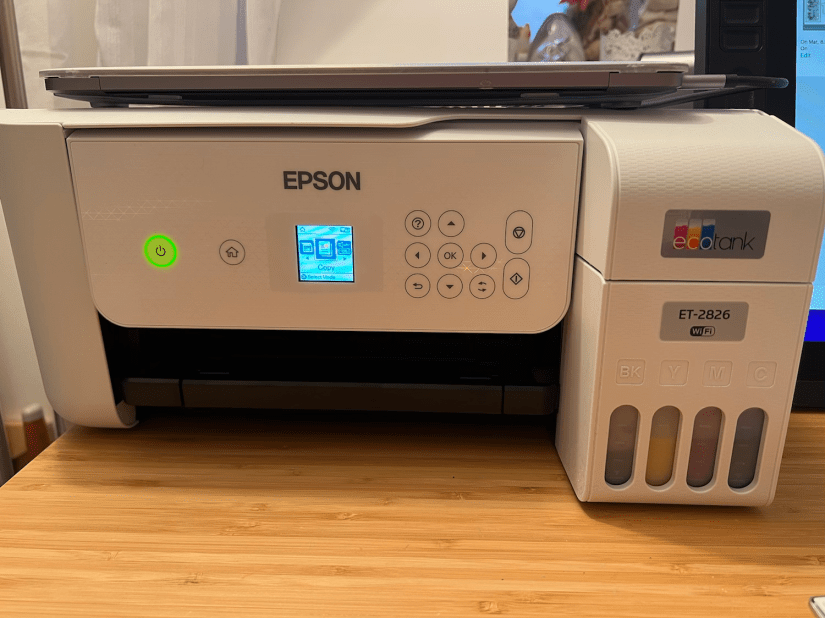
This comes with regular ink but of course I didn’t use that, instead I filled the tanks with sublimation ink and then followed all instruction to set up the printer. Once it was ready, I took my image into pages resized to the size of my mug and printed it off, then cut it to size.
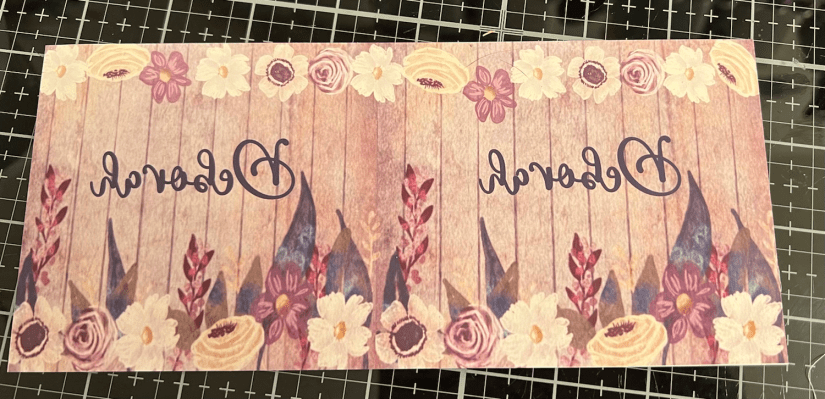
You can see it looks very pink in this image, which is partly due to my lighting, and partly due to the printers settings. I need to play around with the settings to get the best representation but that will come later, today I was eager to press my first mug, and i liked the colour.
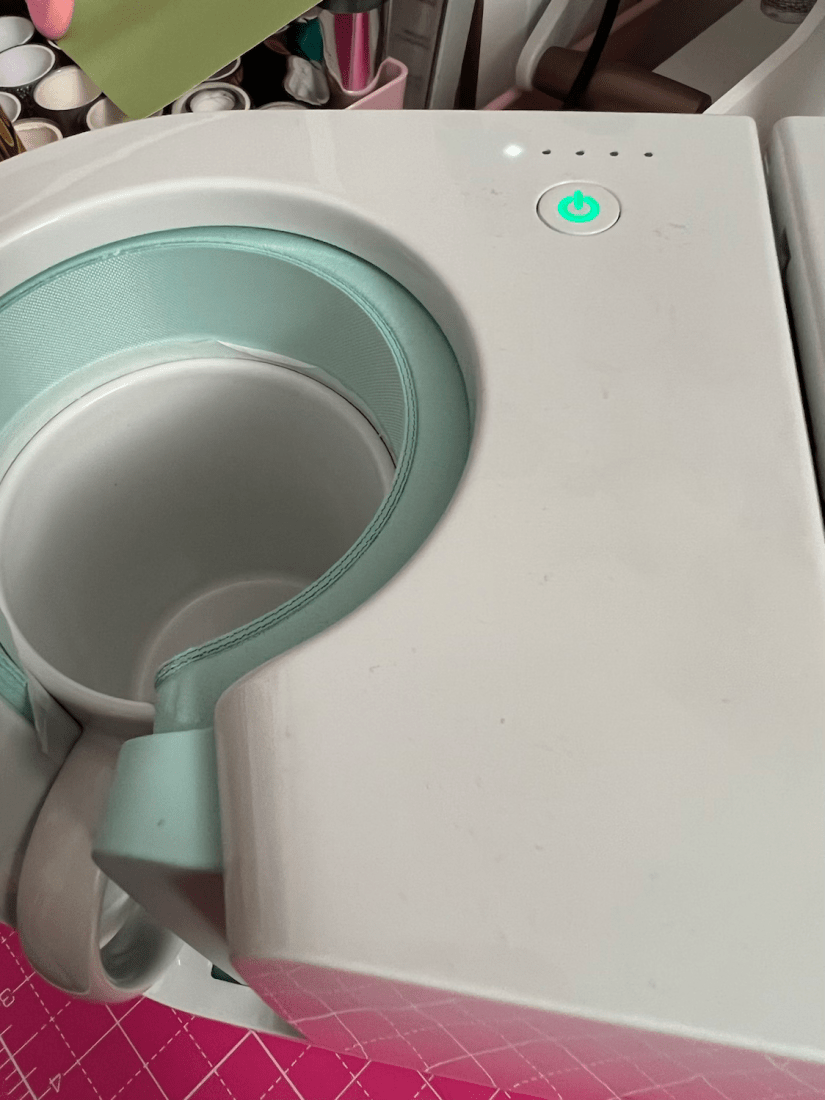
Next I turned on my press to heat it up

And prepared my mug, by first cleaning with rubbing alcohol, and then using a lint roller to unsure it had no dust etc on the mug.
These steps are important as any dust can affect the process. The heat turns the ink into a gas which then fuses into the substrate and becomes part of the substrate so it cannot wash off and is totally dishwasher safe. I’m told if the substrate does have dust on it, that can cause blue spots on your design, so make sure all is properly cleaned first. I then placed my design face down in place and secured with heat resistance tape. I then added two sheets of butcher paper to protect my mug press as the ink can leak through the paper and stain your press. I then put the in the press and secured it in place by closing the lever, this kicks off the pressing and starts the countdown.
It counts down to 5 which I believe is minutes but haven’t checked that. Once it switched off i released the mug from the press and removed it setting it on my heat resistant mat. I left it for a few minutes to cool down as it is really hot, and then peeled off the butcher paper and printed design. I was so pleased with the result, for a first attempt I think it was a brilliant success.
Let’s have another look
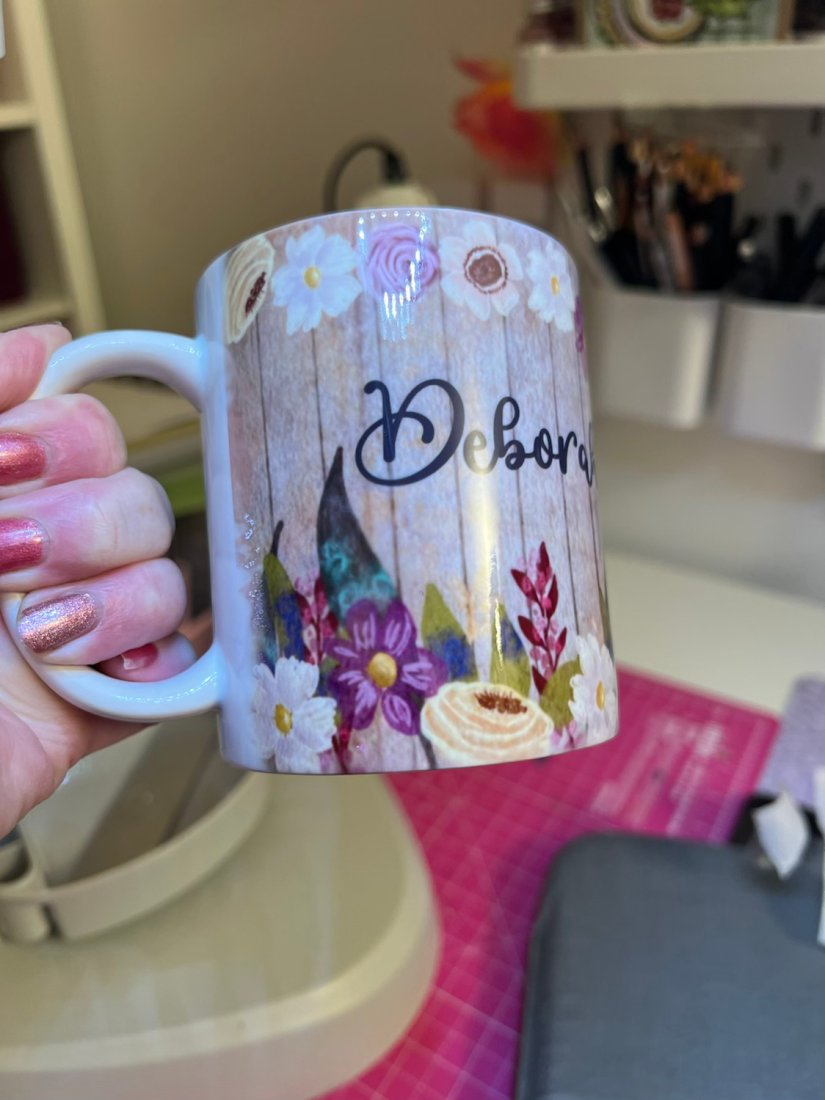

I hope you like it too. The design will soon be in my shop, it is customisable so any name can be added. If you use this code NEWYEAROFFER you can get 30% off.
Well that’s it !
Happy New Year and see you soon
hugs
Debs
xxxxx
