
Hi everyone, this topic came up in some groups I’m in, so I thought for ease i’d write a post to explain my experience. I am no expert just did some research and this is what I came up with to help me.
So I nagged by other half for a sublimation printer for Christmas, and after much research we decided on the cheaper option of converting an Epsom eco tank printer from new, we got the ET2826. I set it all up and did my first print, which over all I was pleased with, but noticed the colour was off. Here are a few comparisons
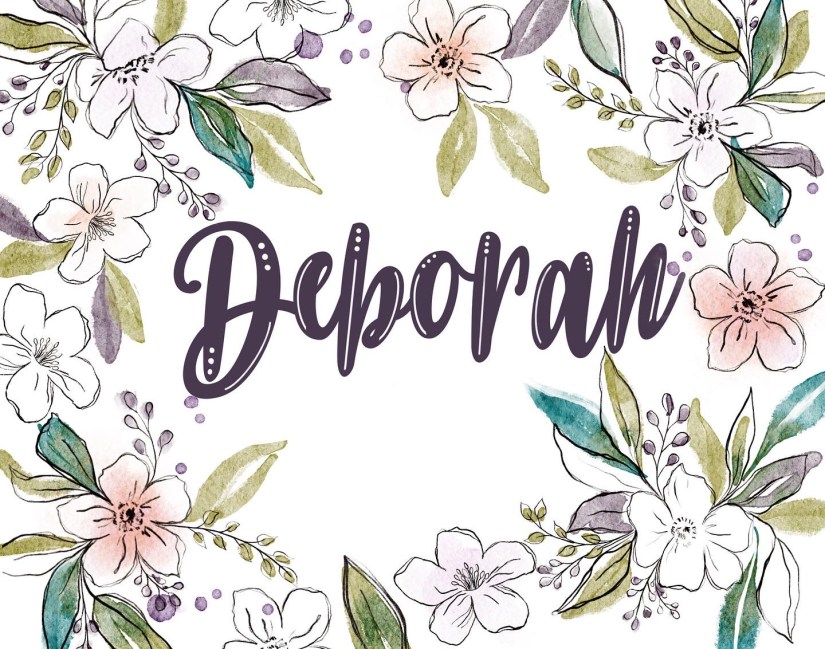
Results original colour
You can see the original is brighter, although it sublimated beautifully with the Cricut mug press and this was my first ever attempt, it was no where near the original colour. As I liked the result I wasn’t too bothered at this stage.
However, the next make I did I was really unhappy, as the colour seemed way off, let’s take a look.
So this is the original I created in procreate on my iPad and below is the result on the mouse mat I had sublimated onto.
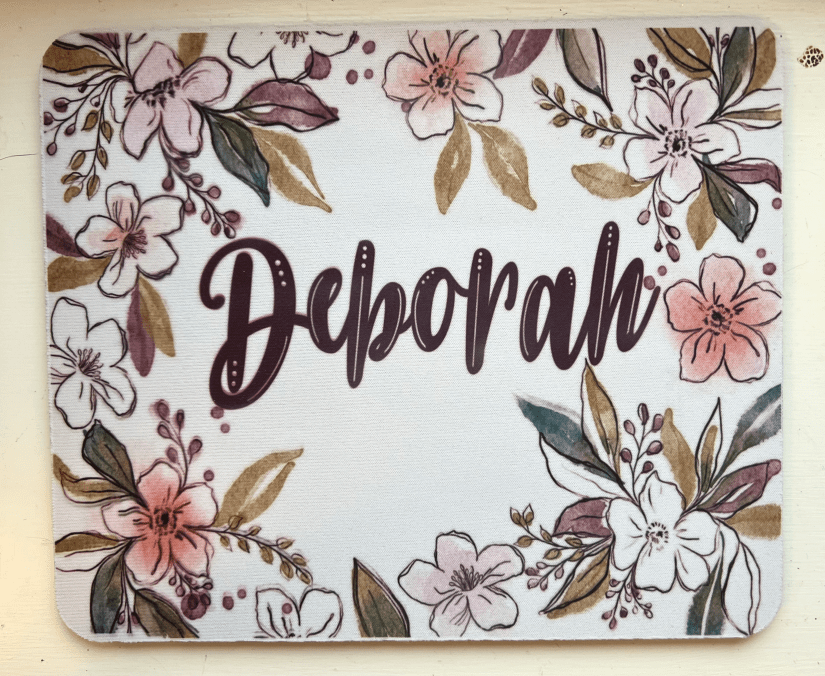
In my opinion sublimation image is very muddy in comparison and so I set about researching what I could do.
I looked into ICC Profiles as I had an idea that was what needed changing but didn’t have a clue what I was doing. I watched a ton of videos and read even more blog posts but was put off by all the conflicting information.
the solution I finally went with was to download the appropriate ICC profile for my printer which’s mentioned earlier is an Epsom ET2826 from ink experts here in the UK which can be found here they also have Ricoh and Sawgrass profiles. do not be put off by their disclaimer of not supporting Mac’s as the profiles do not work. I followed their instructions about downloaded act and then did some more research how to change my default profile for sublimation.
This is what I found taken from the Apple support page (which you can read for yourself here)
Change a device’s colour profile using ColorSync Utility on Mac
You can use ColorSync Utility to change a device’s colour profile.
- In the ColorSync Utility app on your Mac, click Devices in the toolbar of the ColorSync Utility window.
- Click the arrow beside the device group, then select a device.
The device’s default (or factory) profile and its current profile are displayed. - Click the Current Profile pop-up menu, choose Other, then find and select the new profile.
To see additional details about a device’s profile, click Open. You can select an item in the new window to display or modify information, such as individual colour values.
You can also change a device’s profile using the app you use with the device. For example, you can use the Displays pane of System Preferences to select a profile for your display.
Make sure you visit the manufacturer’s website to get the latest software for your device.
I also found that the driver I had downloaded for my printer wasn’t the most current one. For some reason Epson’s website does not recognise what operating system you have (or it didn’t at time of writing February22) and so I followed this video on how to delete my current drivers, you can watch that here and then installed the latest one via my print dialogue box. This changed the driver from 3 to 11 and gave me so many more setting from which I could tweak my print. These new setting allowed me to go to the setting button and pull up colour match, once here I could choose ColorSync and choose my ICC profile, paper settings, print quality and paper type. On most sites it suggest to use the premium quality presentation paper setting, but this currently does not exist, it seems to have been retired and research suggests that plain paper or photo paper Matt are good to use. All my settings chosen I then headed to the preset box, scrolled down to ‘save current setting’, and named this preset as Sublimation, lastly I clicked save for this printer only.
This is the result, (this is actually brighter but its so dull here today)
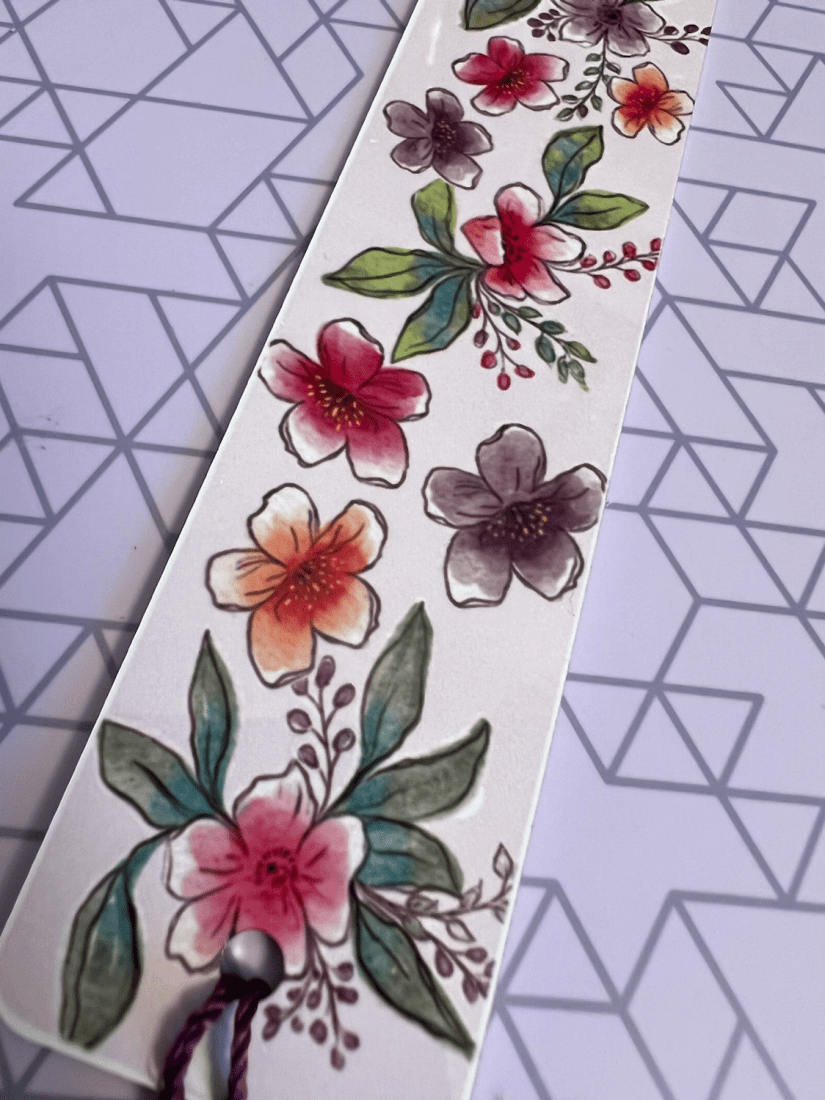
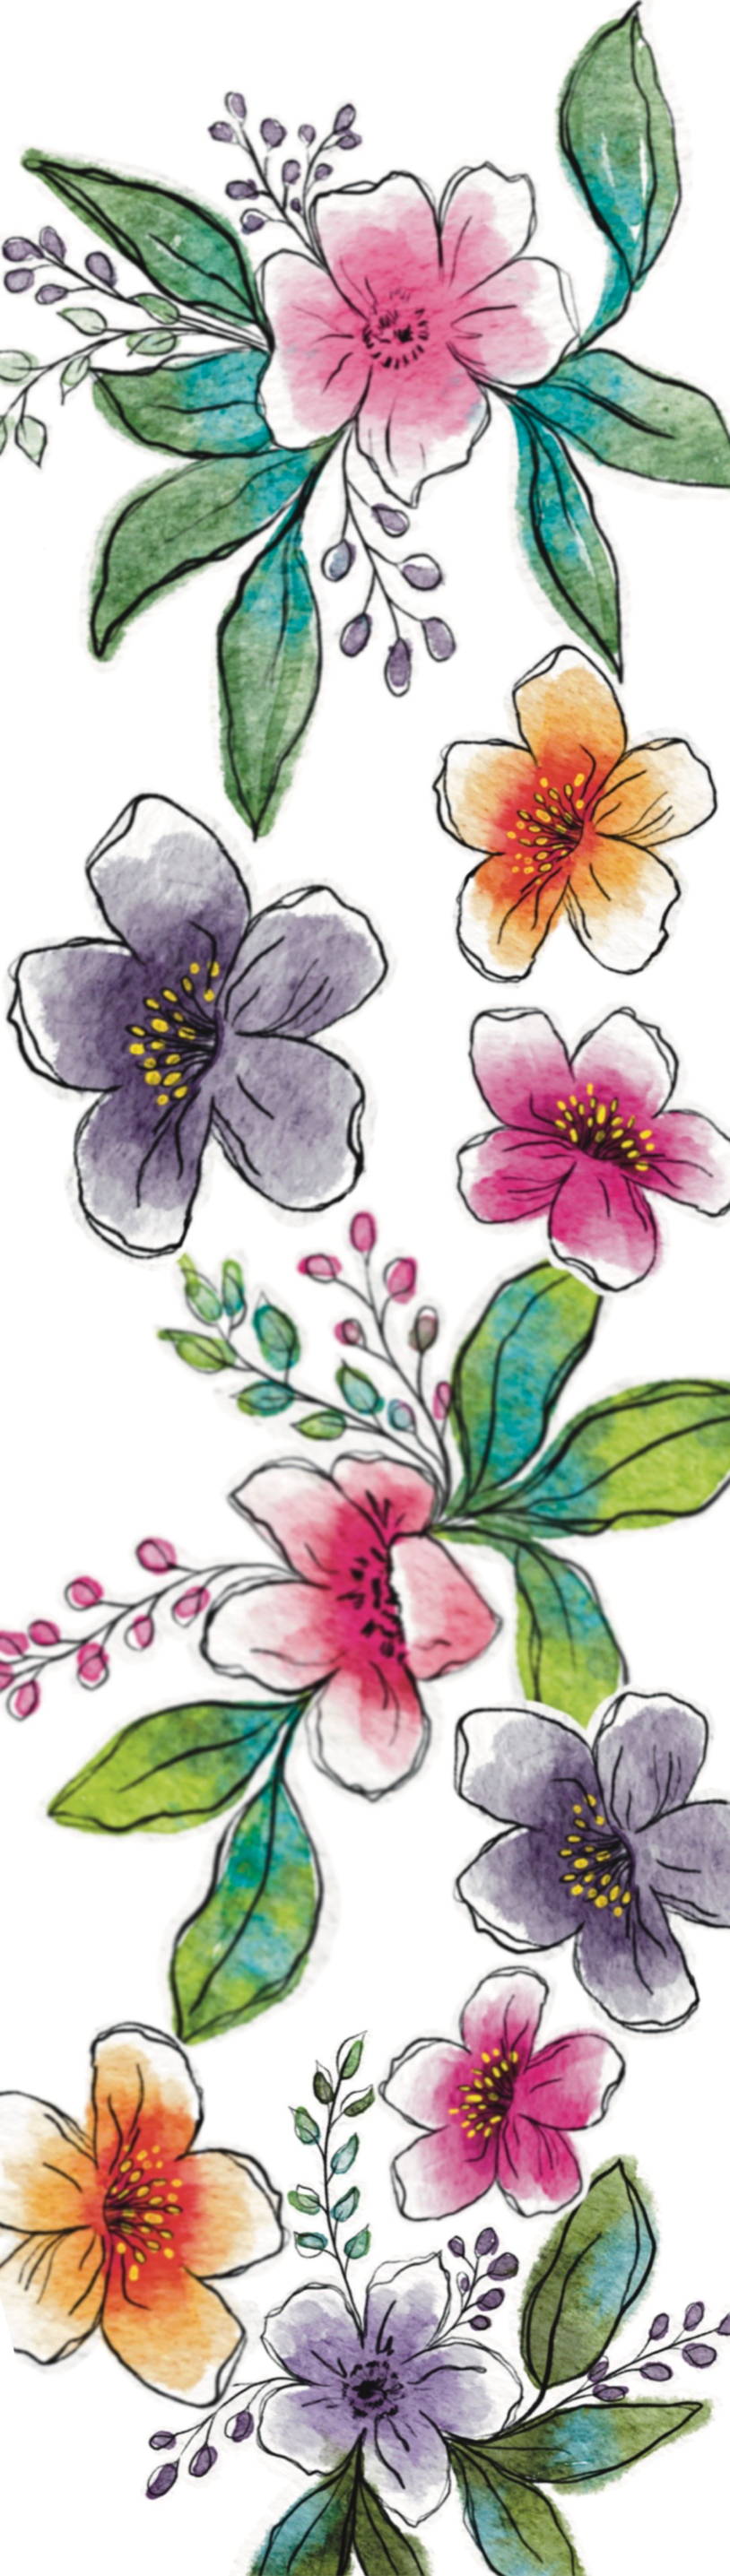
and this is the original image it doesn’t have the pink background which I added when in Design Space but you can see the colours are much closer than the previous images.
.
As stated earlier, I am no expert and there may be other ways to sort this out, but this worked for me. Also all opinions are my own, I am not affiliated to any of the products, or websites I mention and I purchased all equipment, nothing was supplied.
I hope you found this post useful, please comment below with any questions, or suggestions for further topics you would like me to explore. Also please subscribe to my blog for more updates, and if you would like a free copy of this image to use in your crafty projects head on up to the freebies page where you can download a png copy.
take care and see you soon
Hugs
Debs xxx
