
Hello everyone, and welcome to February the month of love. There is so much in the world to love, despite the difficulties of the last couple of years with the pandemic and the natural disasters throughout the world, I’m looking closer to home to those little things like Buds of my daffodils poking through in their pot, the plants that continue to produce beautiful flowers despite the frost, the wondrous clouds dancing across the sky. Or have you felt the sunshine on your face recently, and have you noticed its starting to stay light longer? No matter what your position is in the world if you go looking there are many things to love and enjoy.
As my title states Hearts and Flowers is this months theme for Country View Crafts, challenge which you can find here and I’ve made a large wooden tag to add to a bundle I’m making to celebrate Valentine’s Day with my husband.

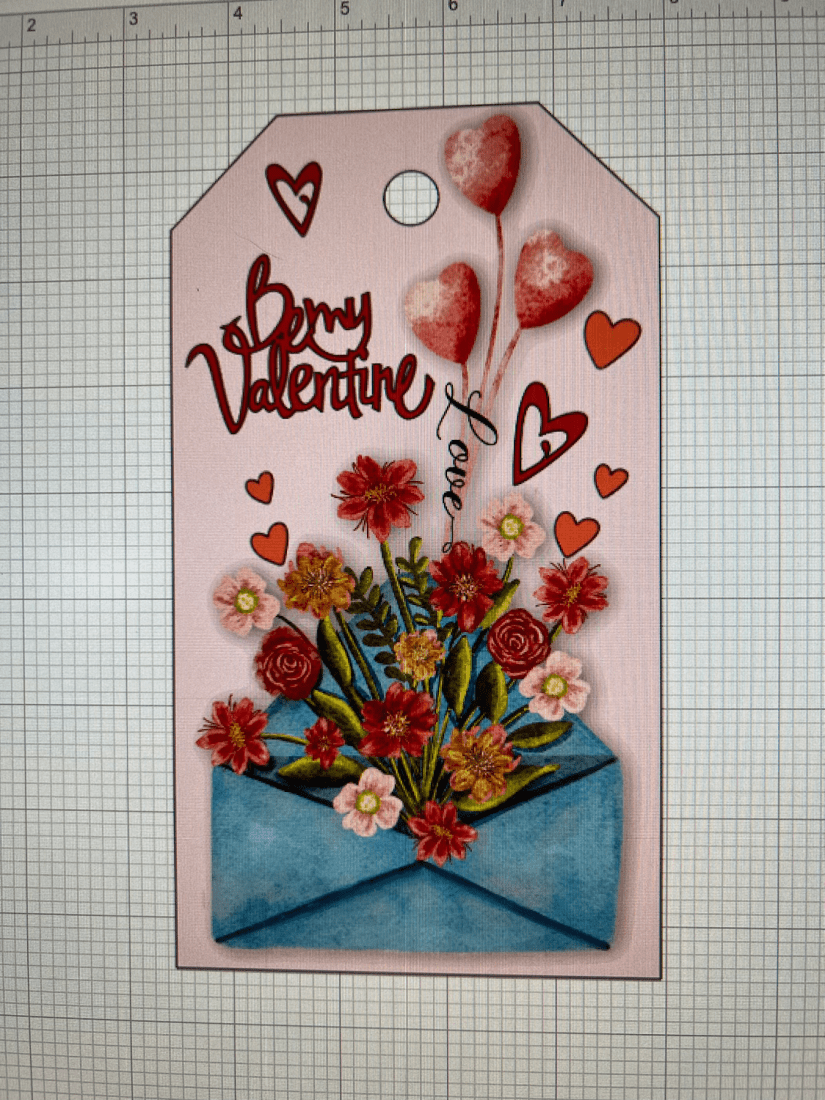
This projects brings together many of my creative loves, traditional, acrylic paint, blank substrate, digital, my image created in Procreate and my die cutting machine using glitter iron vinyl and the print and cut feature. Let’s start with the image in Procreate
I saved the image as png file which means it doesn’t include the background. This I then imported into Design space And saved as a print and cut file. Opening a new canvas I created a template of my tag, the size is 8”x4.5” this helps me size my image etc.

I then inserted my image, found my sentiment and added some hearts.
I grouped my sentiment and hearts so that they cut as 1 image removed the tag image and pressed the make it button. I set up the cut with the type of material I was using which was iron glitter and added my vinyl to the mat, feeding it into the machine.
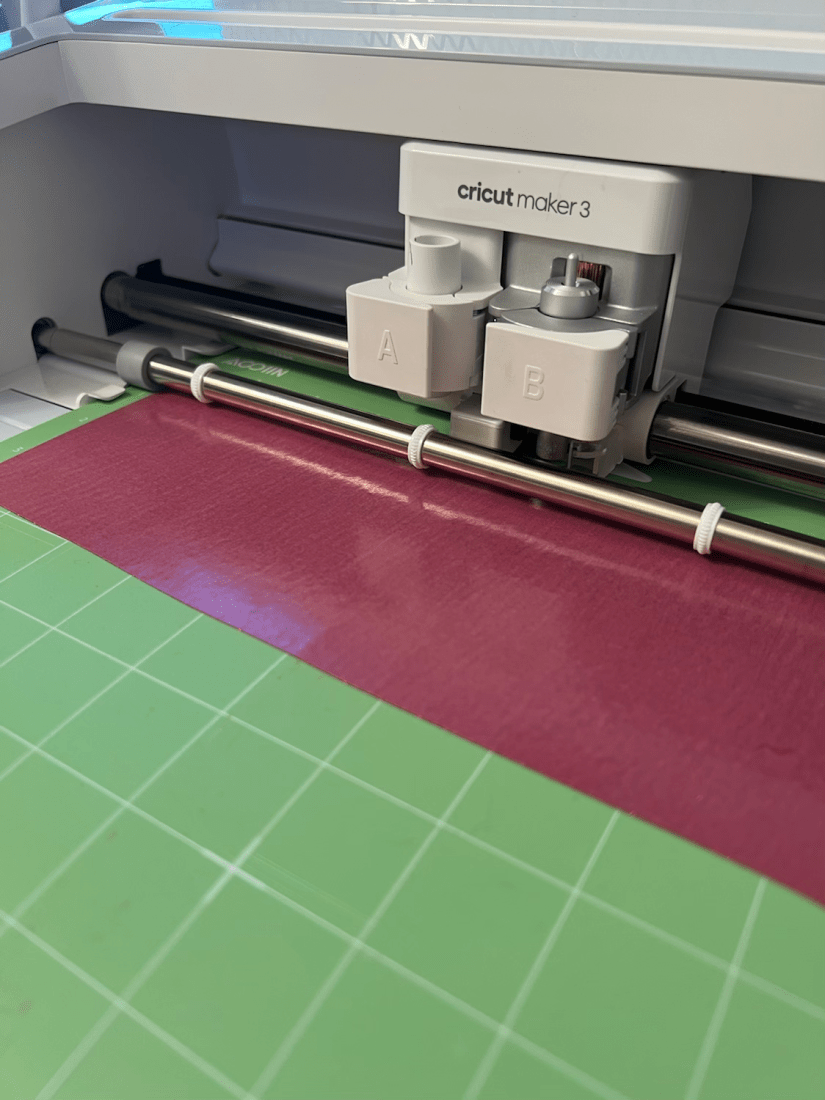
Not forgetting to mirror the image as its was to be ironed on, its always a good idea to check the setting of material you are using. Once cut I weeded (remove the unwanted vinyl) and cut this away from the remaining vinyl so that I could use that on another project.
This is what I was left with, I then sent the main image to print. I had already loaded up my printer with adhesive backed paper.
Once printed I laid it onto the cutting mat to allow the maker to cut it out.
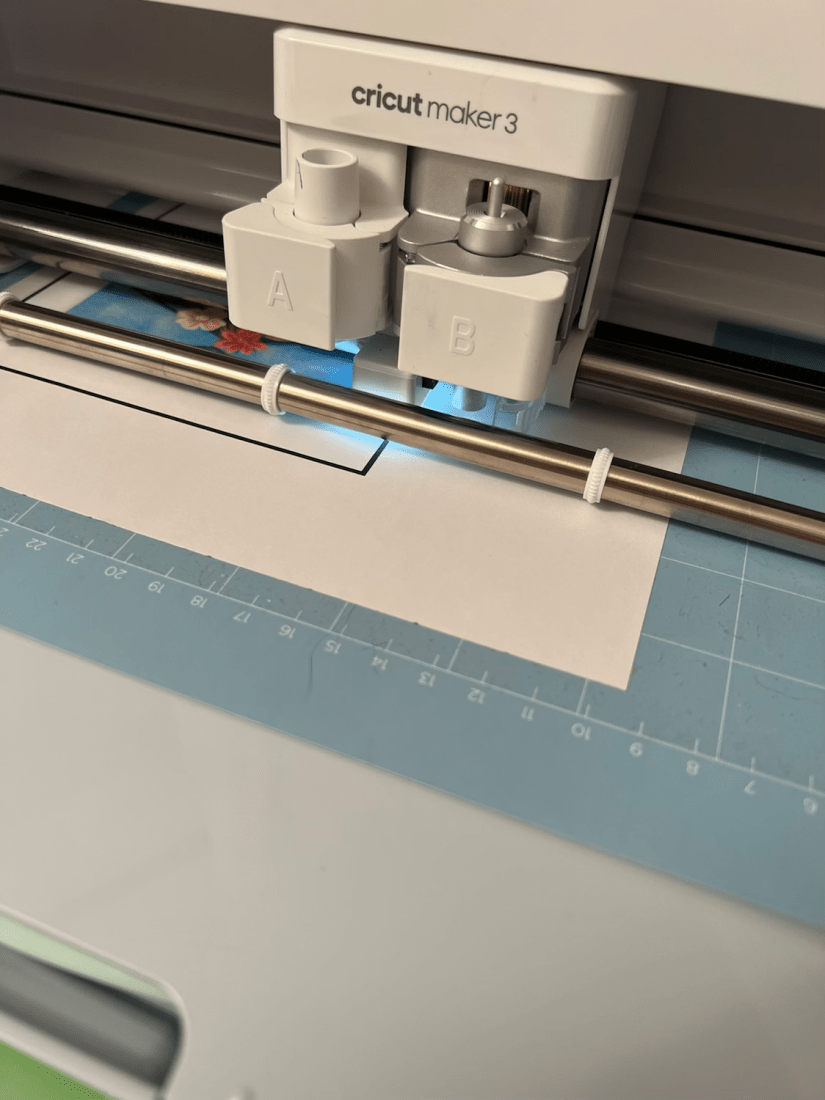
I realised that I didn’t set up the bleed when I cut this, so as I had added a shadow to my image it cut a bigger border than I wanted, so I trimmed it more and then once stuck down chose a pencil as close to the pink tag as I had and shaded in the white to blend into the background.
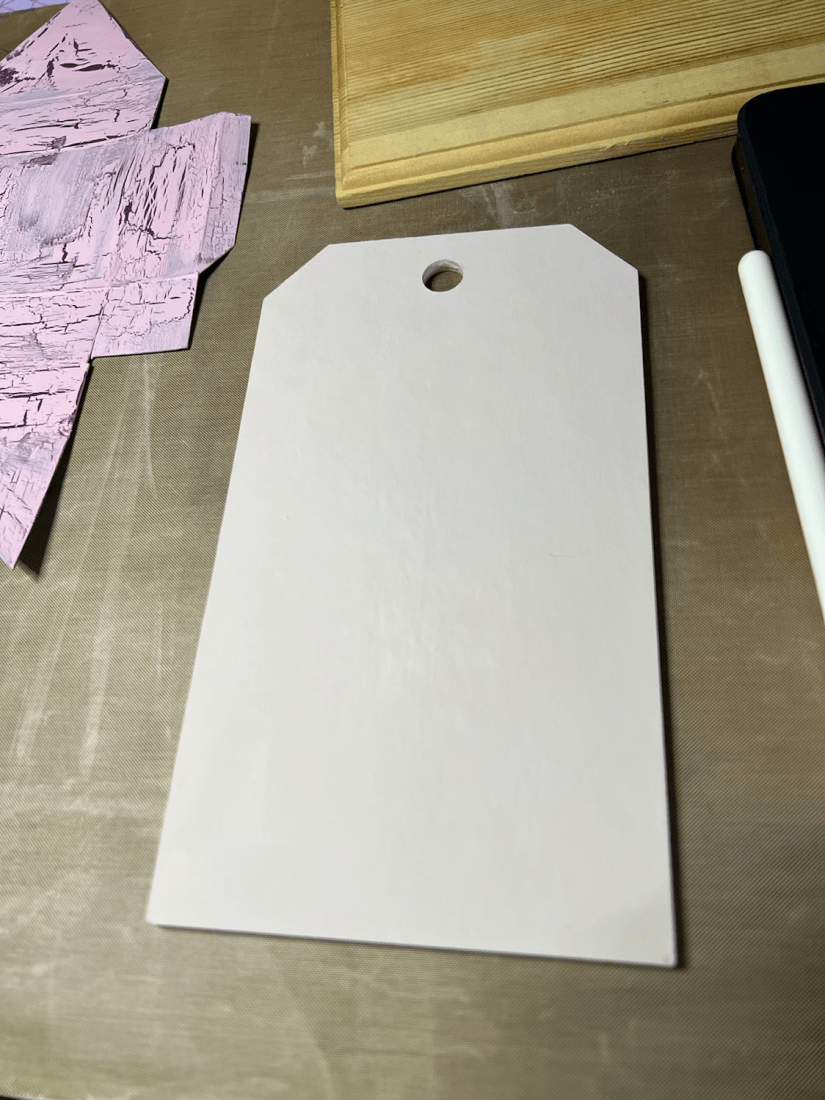
I had already prepared my tag earlier, checking it was completely dry I got ready to add my sentiment and hearts. I checked the heat press setting on the Cricut website and set up my press. I used my mini press for this project.
It took about 40 sec for the heat press to transfer the sentiment to the wood.
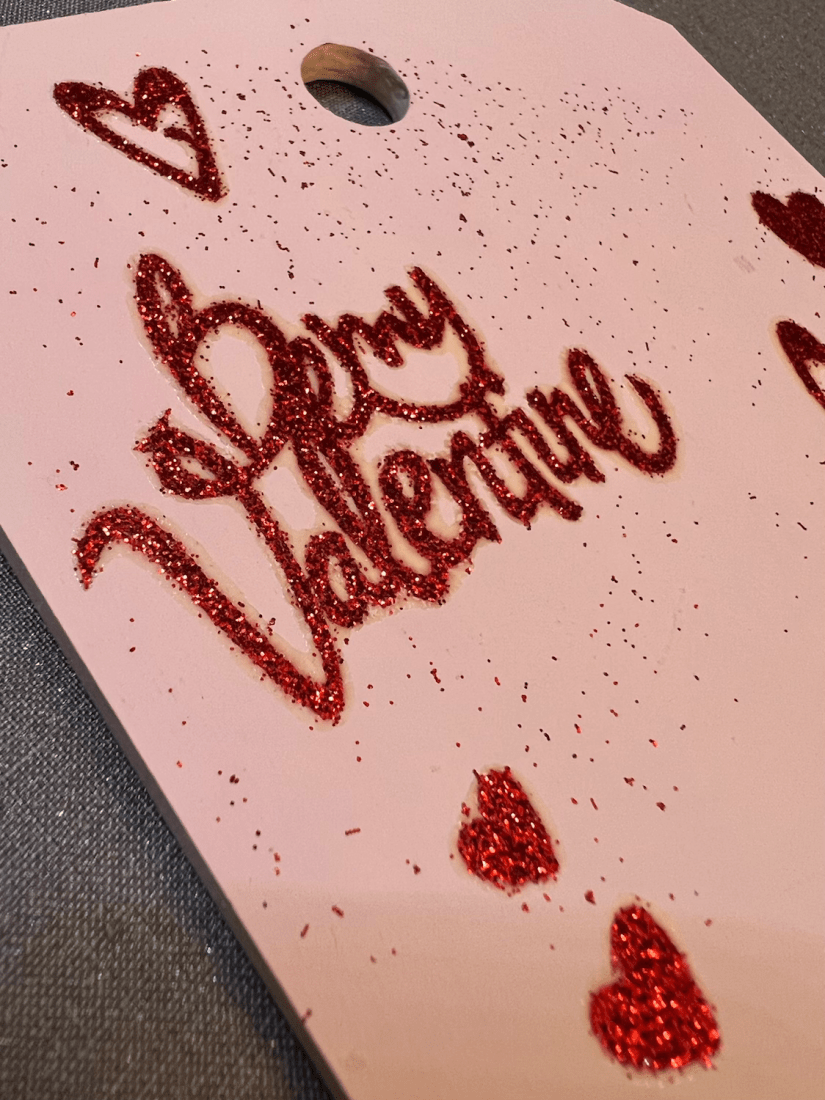
You can see that there is much glitter from the sheet that was left on the carrier sheet. This is because frankly the materials was a cheap one, which I purchased to have a play around, for this project I didn’t mind as it looked okay. However, if I had used it for a nice white T-shirt, i’d have been very unhappy. It always pays to buy good quality materials, Susan has some lovely Cricut brand vinyls in shop.
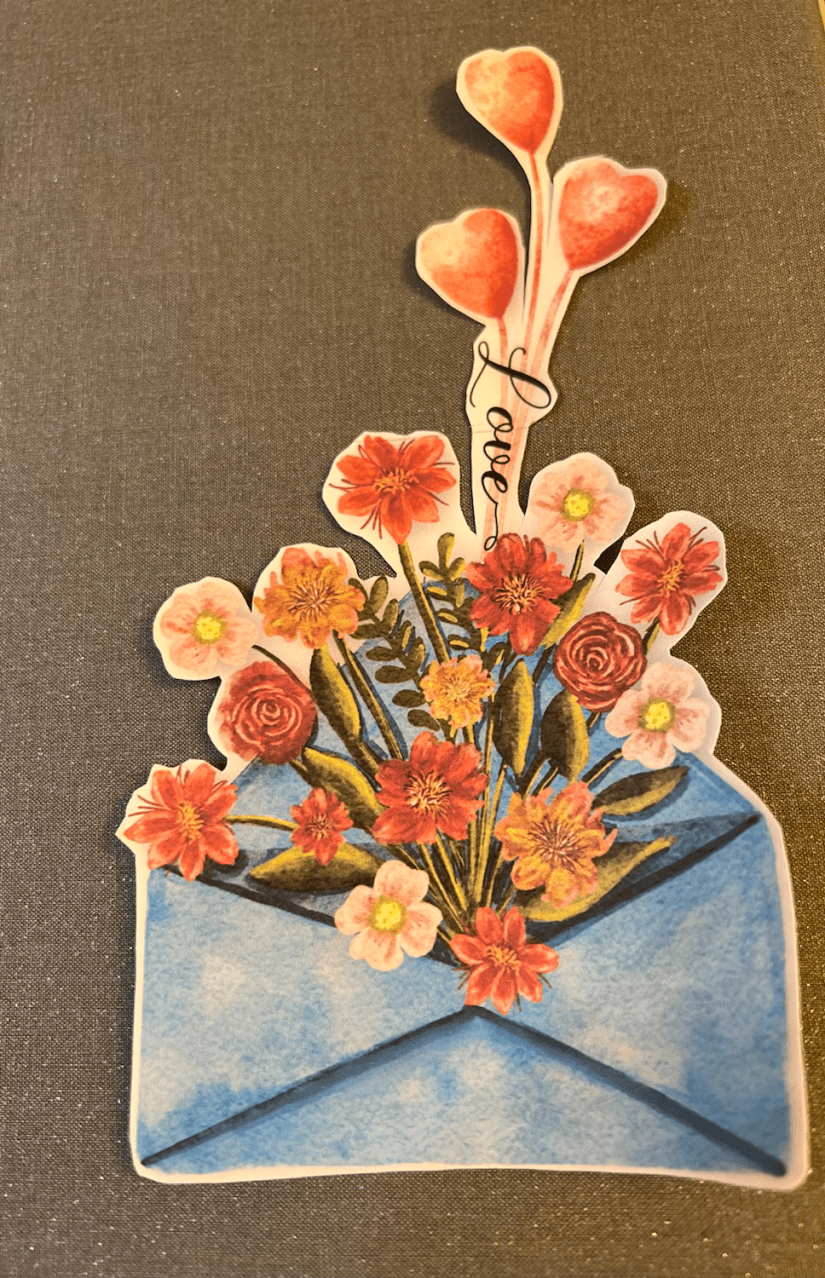
I then removed about an inch of the carrier sheet of my image and placed it on the tag smoothing it down. Gently I slowly removed about an inch at a time smoothing as I went to ensure I get a nice smooth Placement of the image without any wrinkles.
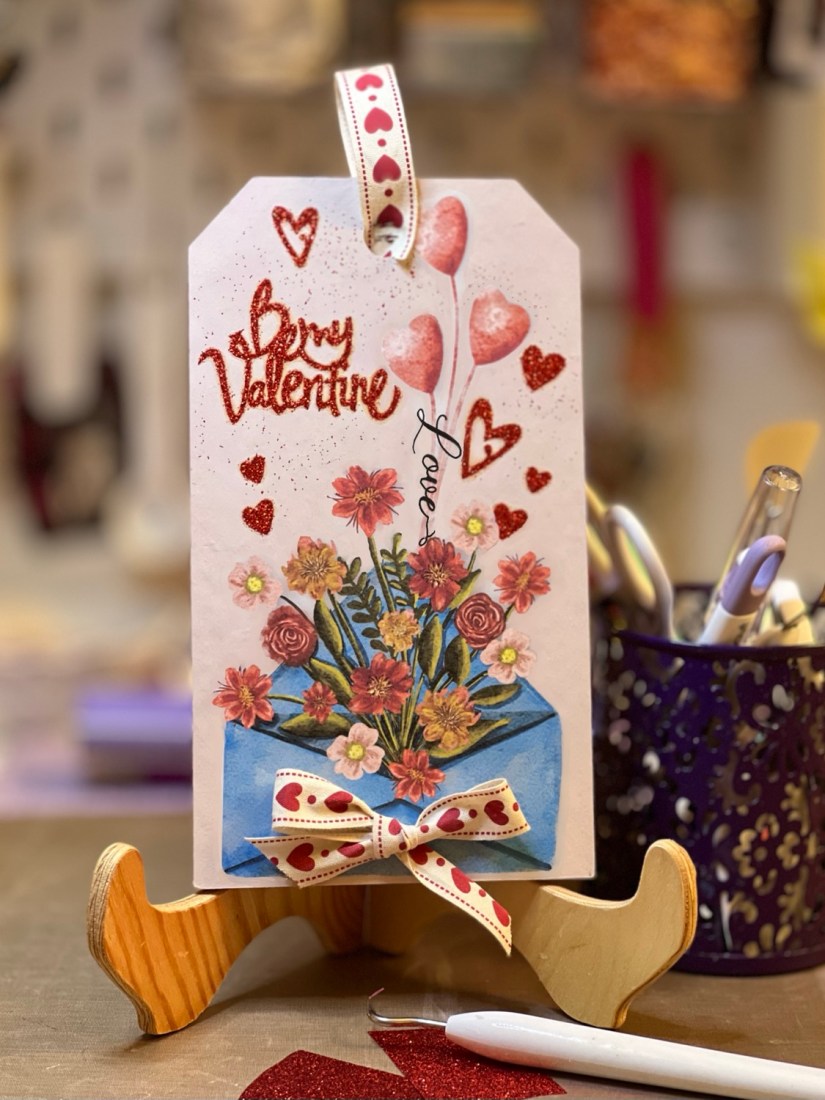
To finish off I added some heart ribbon to hang the tag as well as a bow.
Lets have another look
And the finished tag
This piece inspired my next but you will have to wait to see that! If you would like a free copy of my image head on up to the top of my page and click on freebies. There you will see the image, click on download and this will then down load to your device. Open it like you would any zip file and save. It is a png file so has no background. Happy crafting!
take care and see you soon
hugs
Debsxxx
