
So a little about my digitising journey. Once my embroidery machine ( Bernette b79 sewing and embroidery machine )
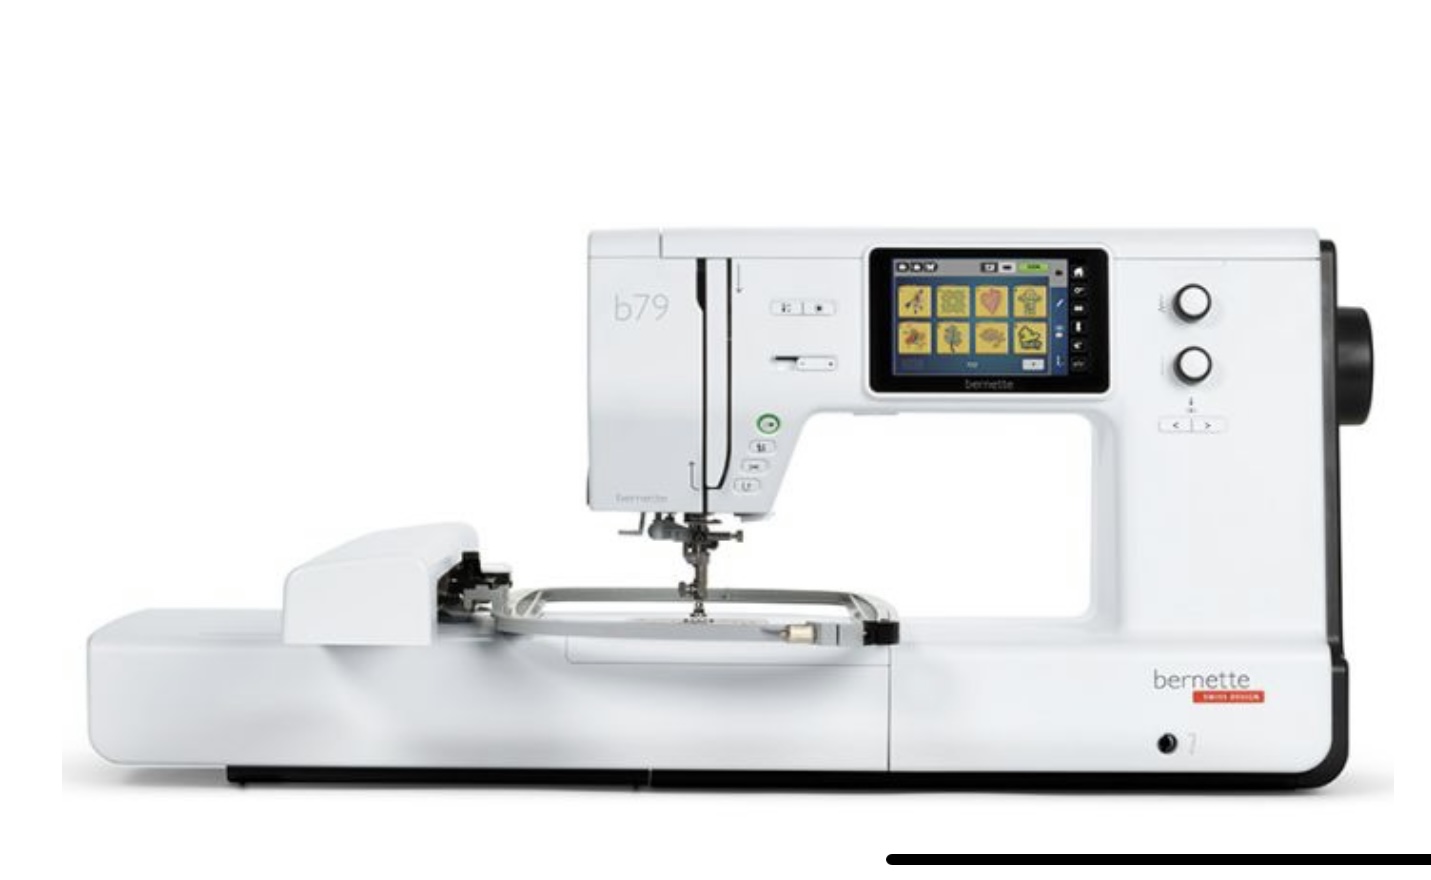
was established in my studio and I started to research this new toy. I quickly realised that I couldn’t just input my designs into the machine and it would miraculously stitch it out. I needed software in which to achieve this. My machine came with access to Bernina’s Toolbox which has lots of designs and the capability to edit designs but not create new one from my designs. So I started to research which software would suit my needs. There are a few good ones which work both with Mac and Windows but I needed one to work on my Mac. After checking out the main ones, looking at cost, functionality and ease of use I settled on Embrilliance Stitch artist
I liked that its modular, so I could it build up as my skills increased, its easy to learn with lots video tutorials on line and one of the main reasons was it can be put onto as many devices as you need. So if in the future I have to update my computer I don’t have re buy the software.
Over the last few months I have been practising my practical skills in using the machine as well as learning how to use the software. One of my favourite thing is in the hoop projects ( i’ll write more about those in another post, as they deserve their own space😊 ) being able to complete or almost an item using the hoop and embroidery part of the machine is so much fun. However, my main aim was to be able to create items which I have completely designed from scratch, from fabric, item and decoration. This is my ultimate goal, and for small projects I’m able to do most of it myself.
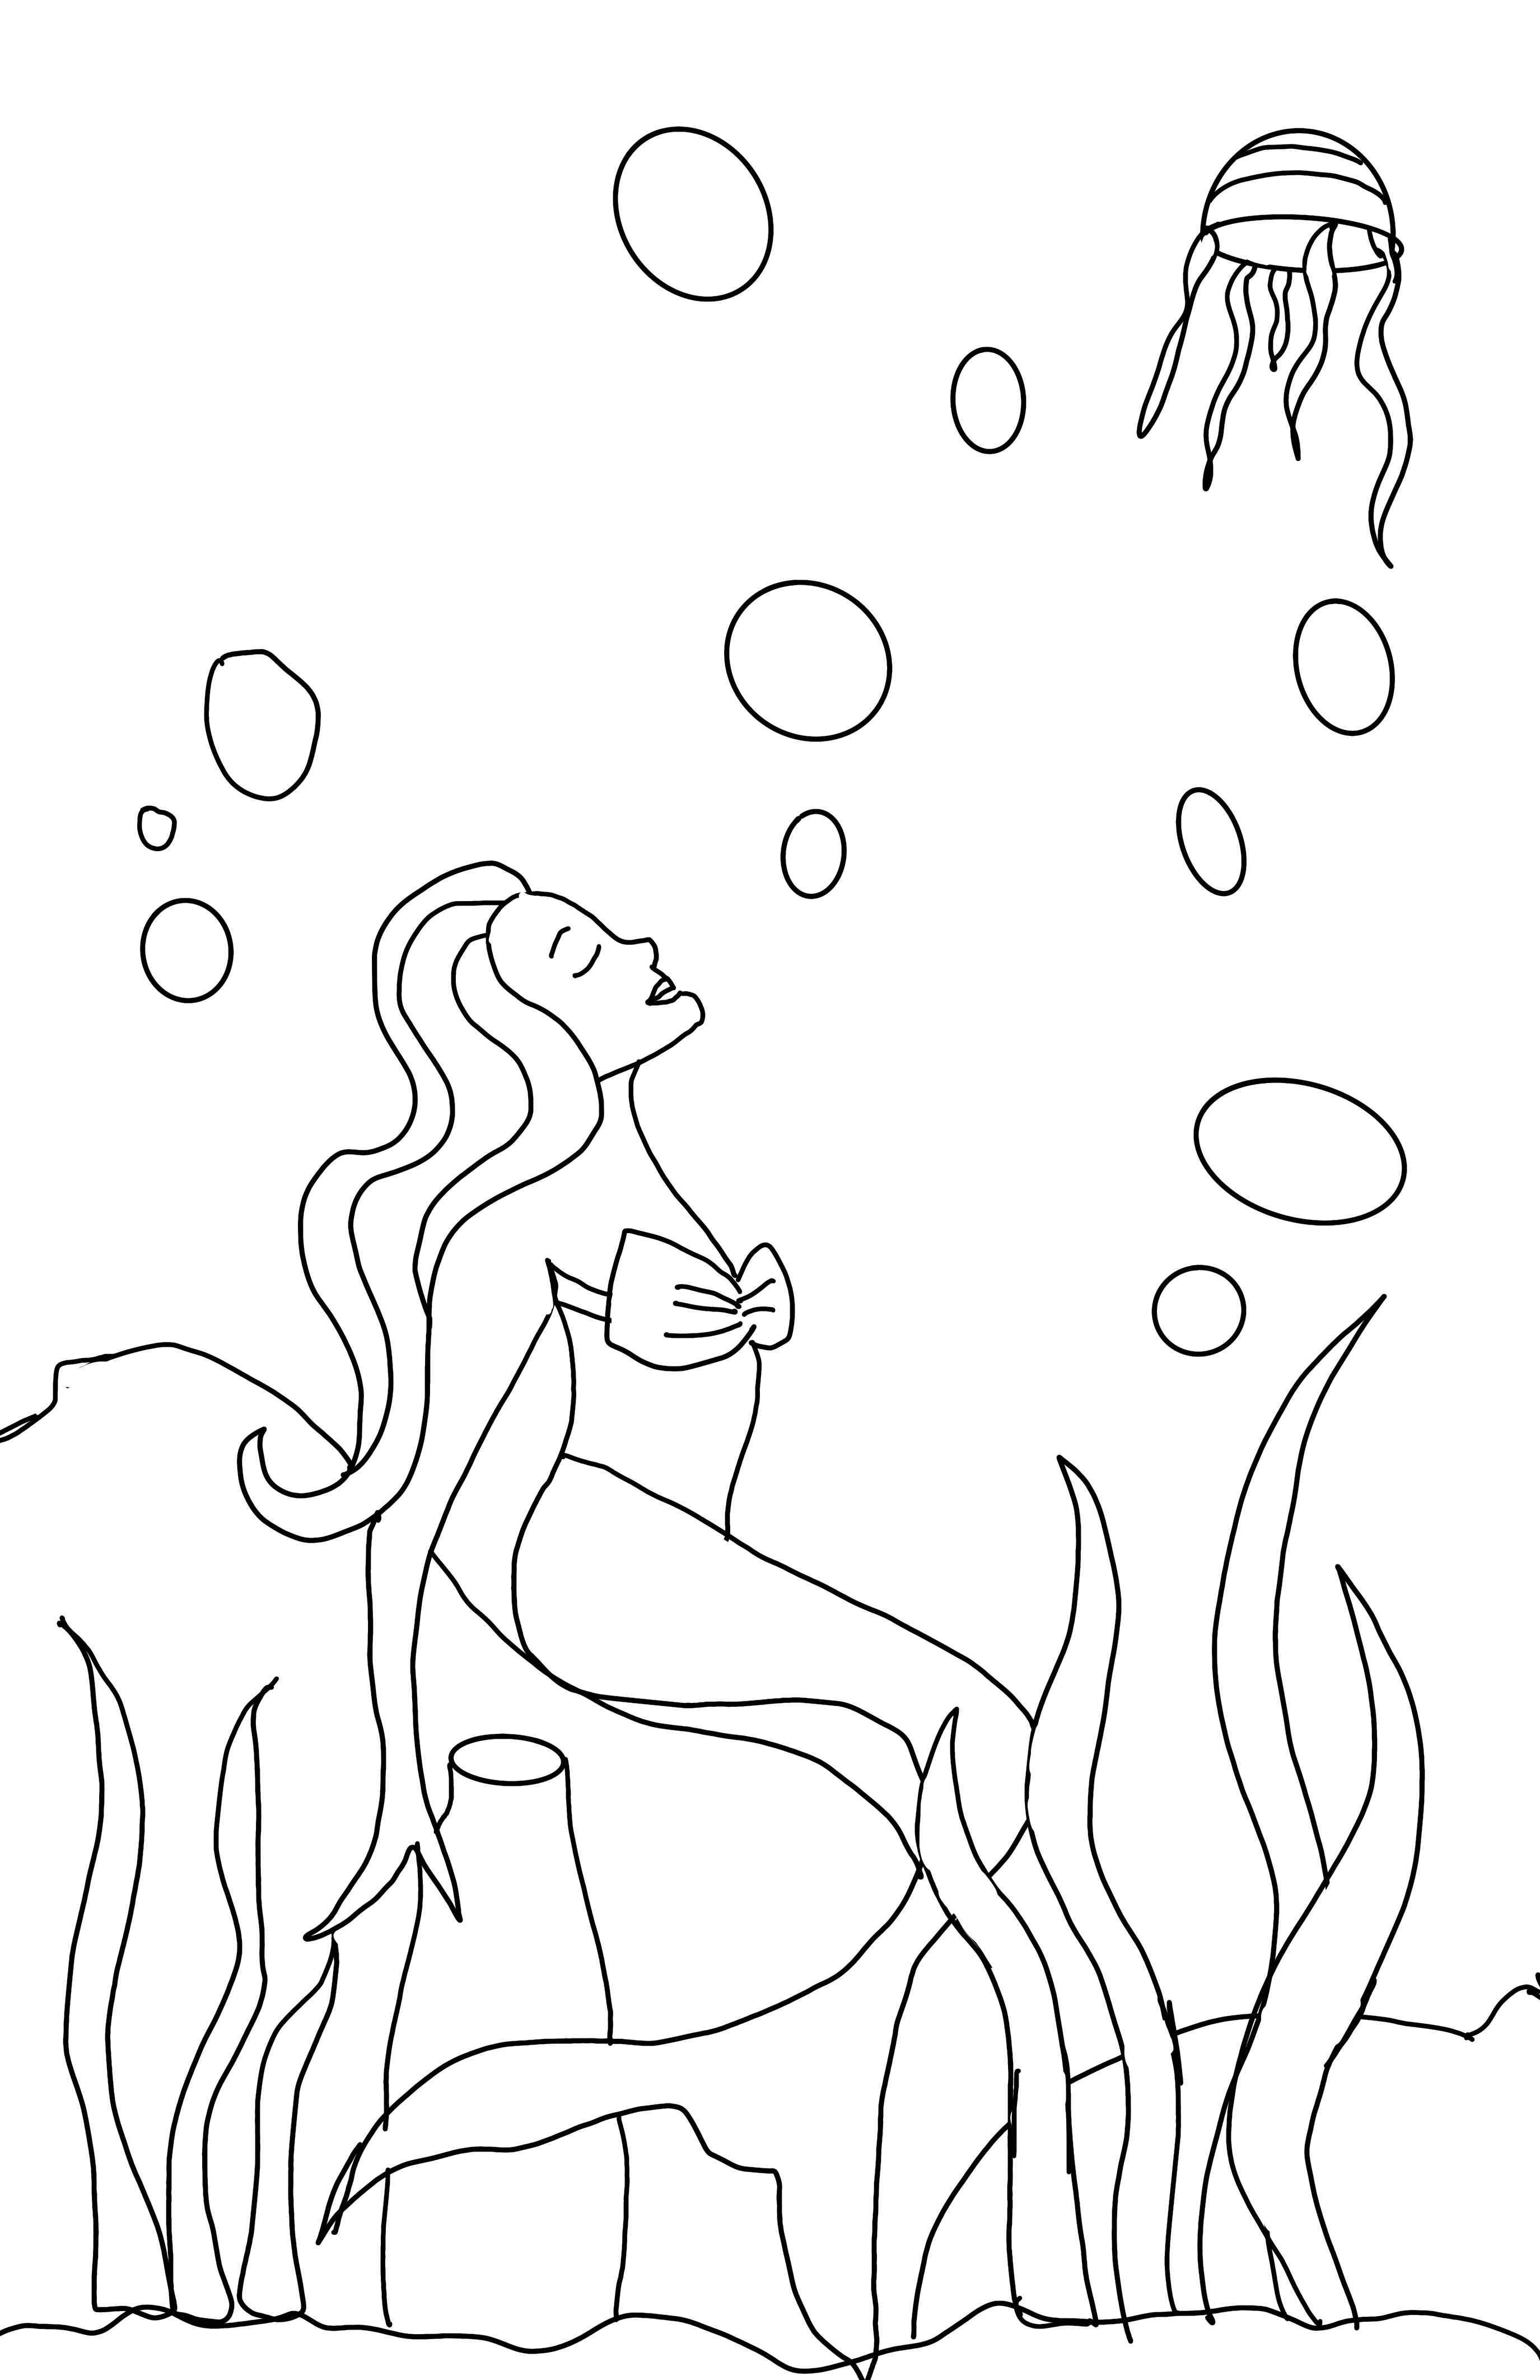
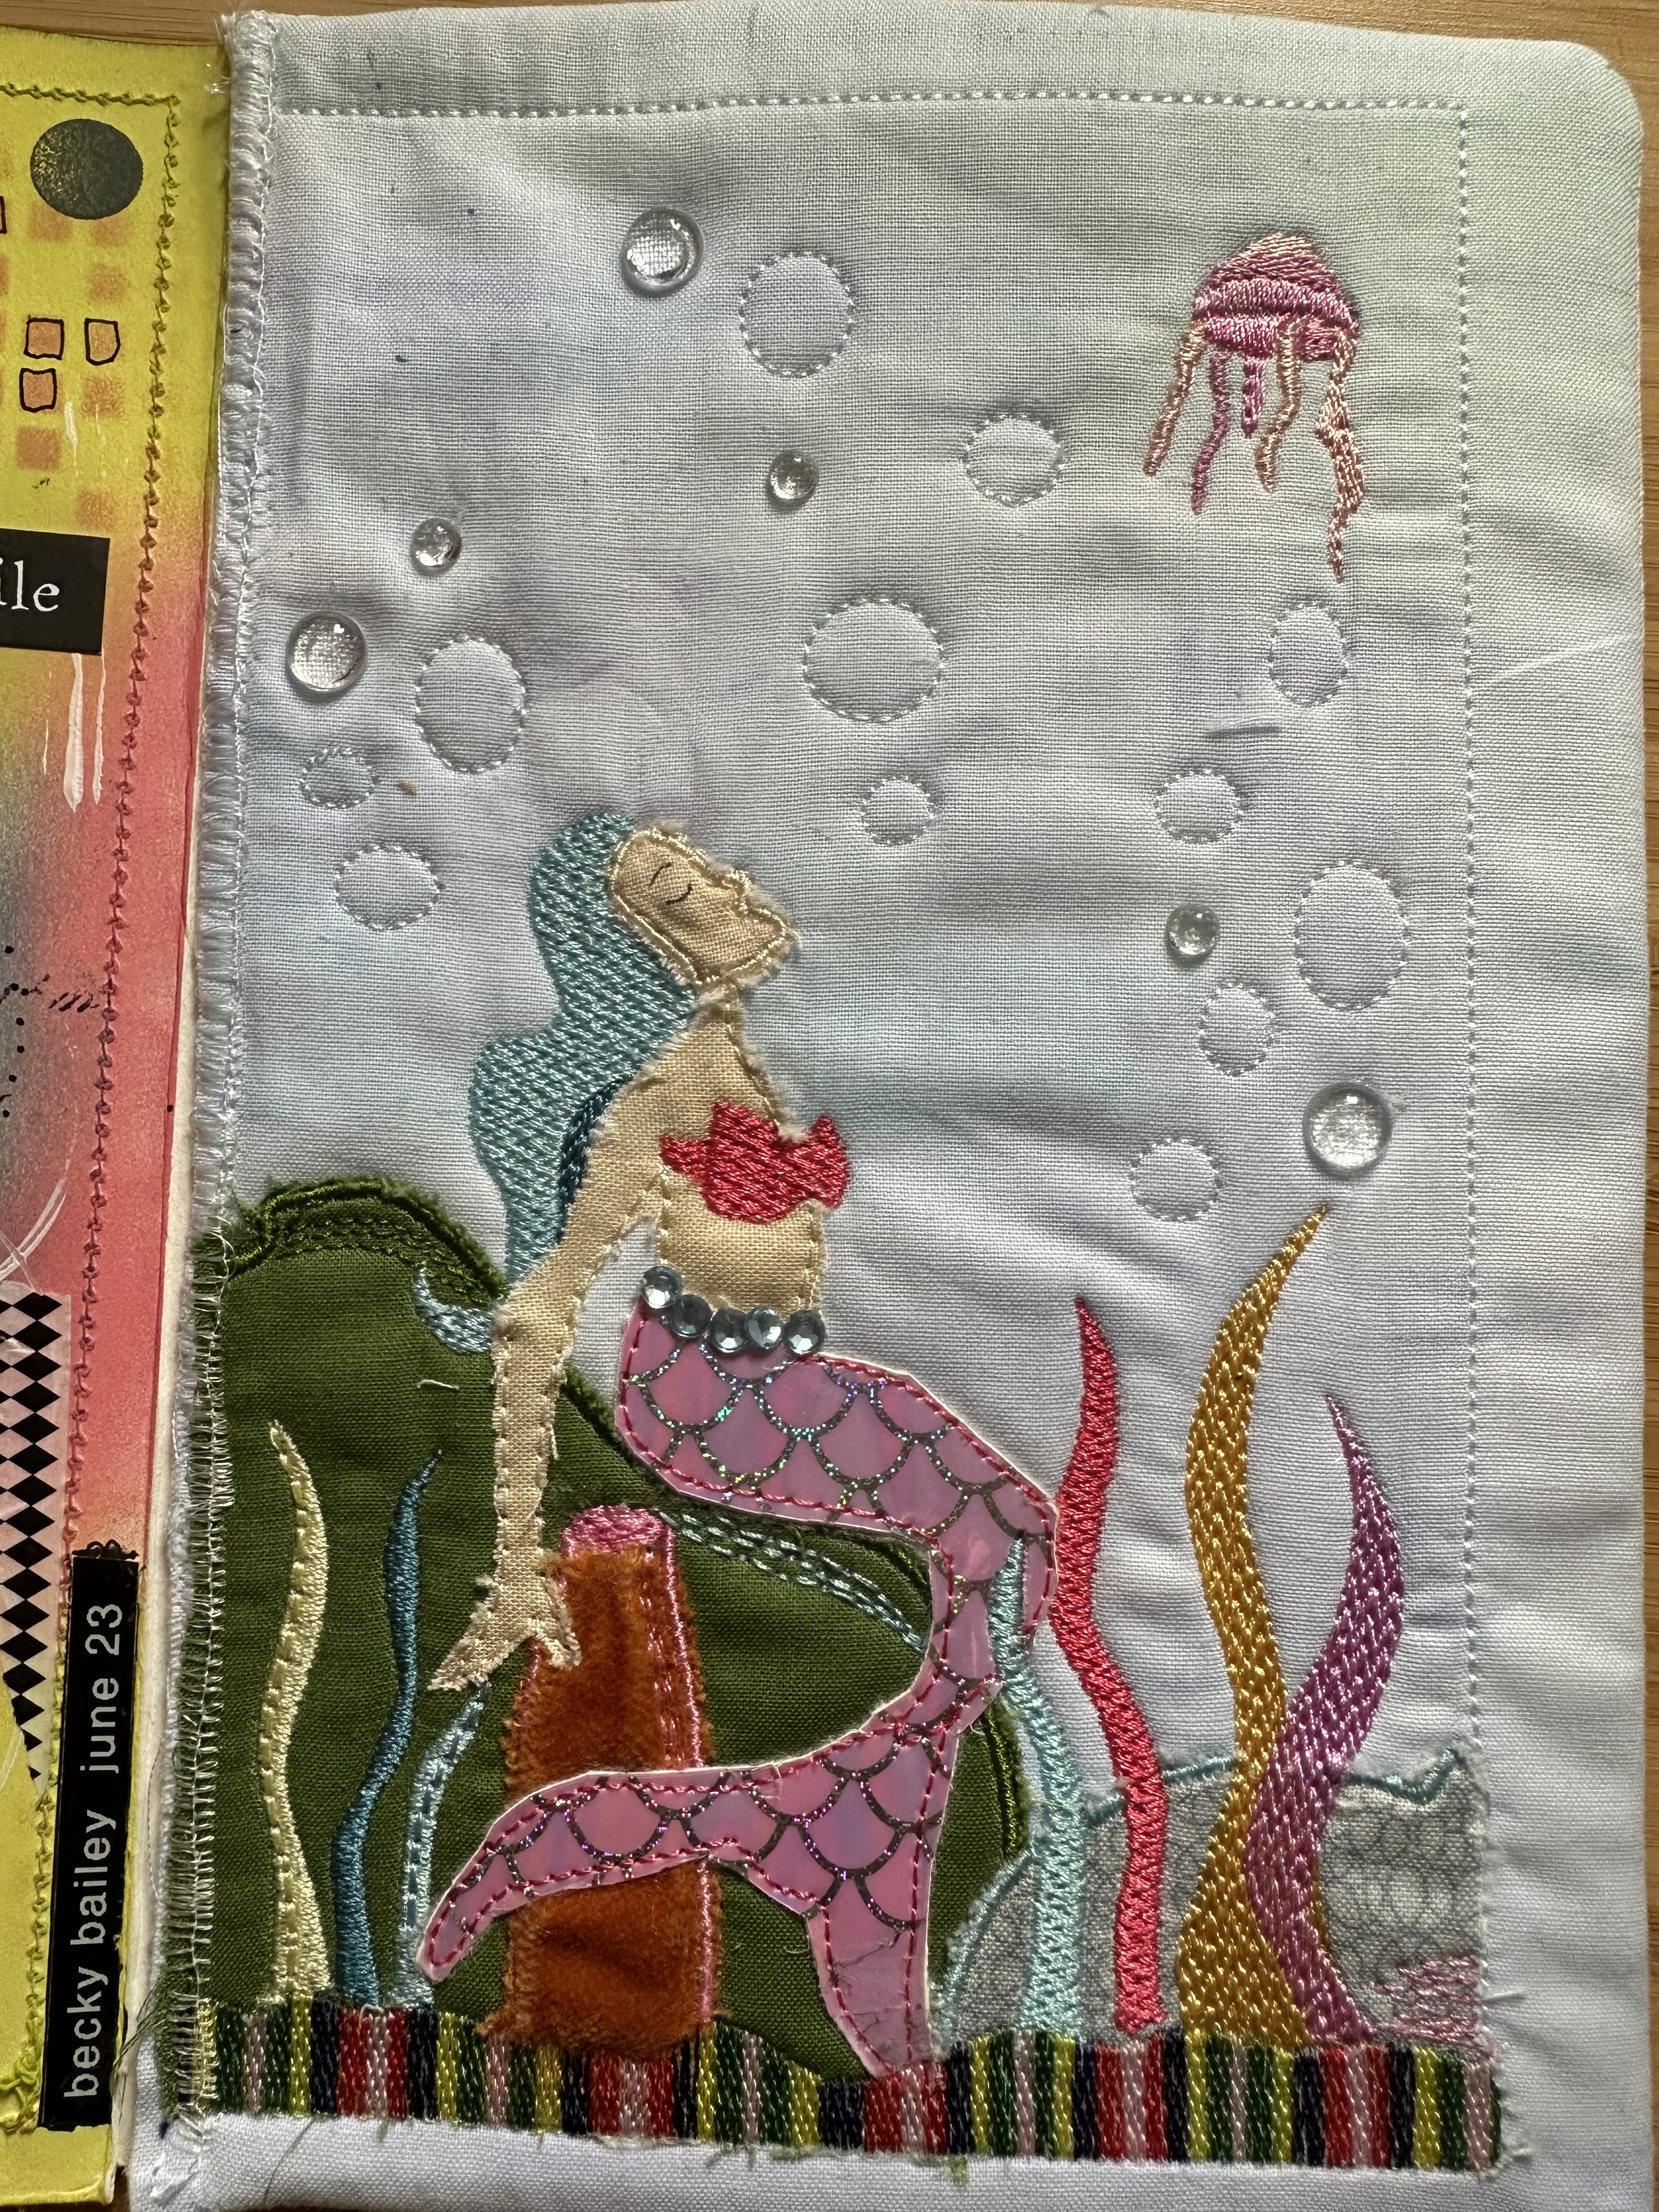
Anyway I digress. So I’ve developed a few skills so far and so thought i’d test them out with a project for a journal tag round I belong to. We each create a page in a journal and send on to the next participant each month until our own journal arrives back. This months theme was Wonders of the sea so I set about creating my image. I first roughly drew it out in Procreate.
Next I took it into Affinity Designer a desk top programme I use to create vector art, where I redrew it using my first, as a guide and then saved it as an SVG.
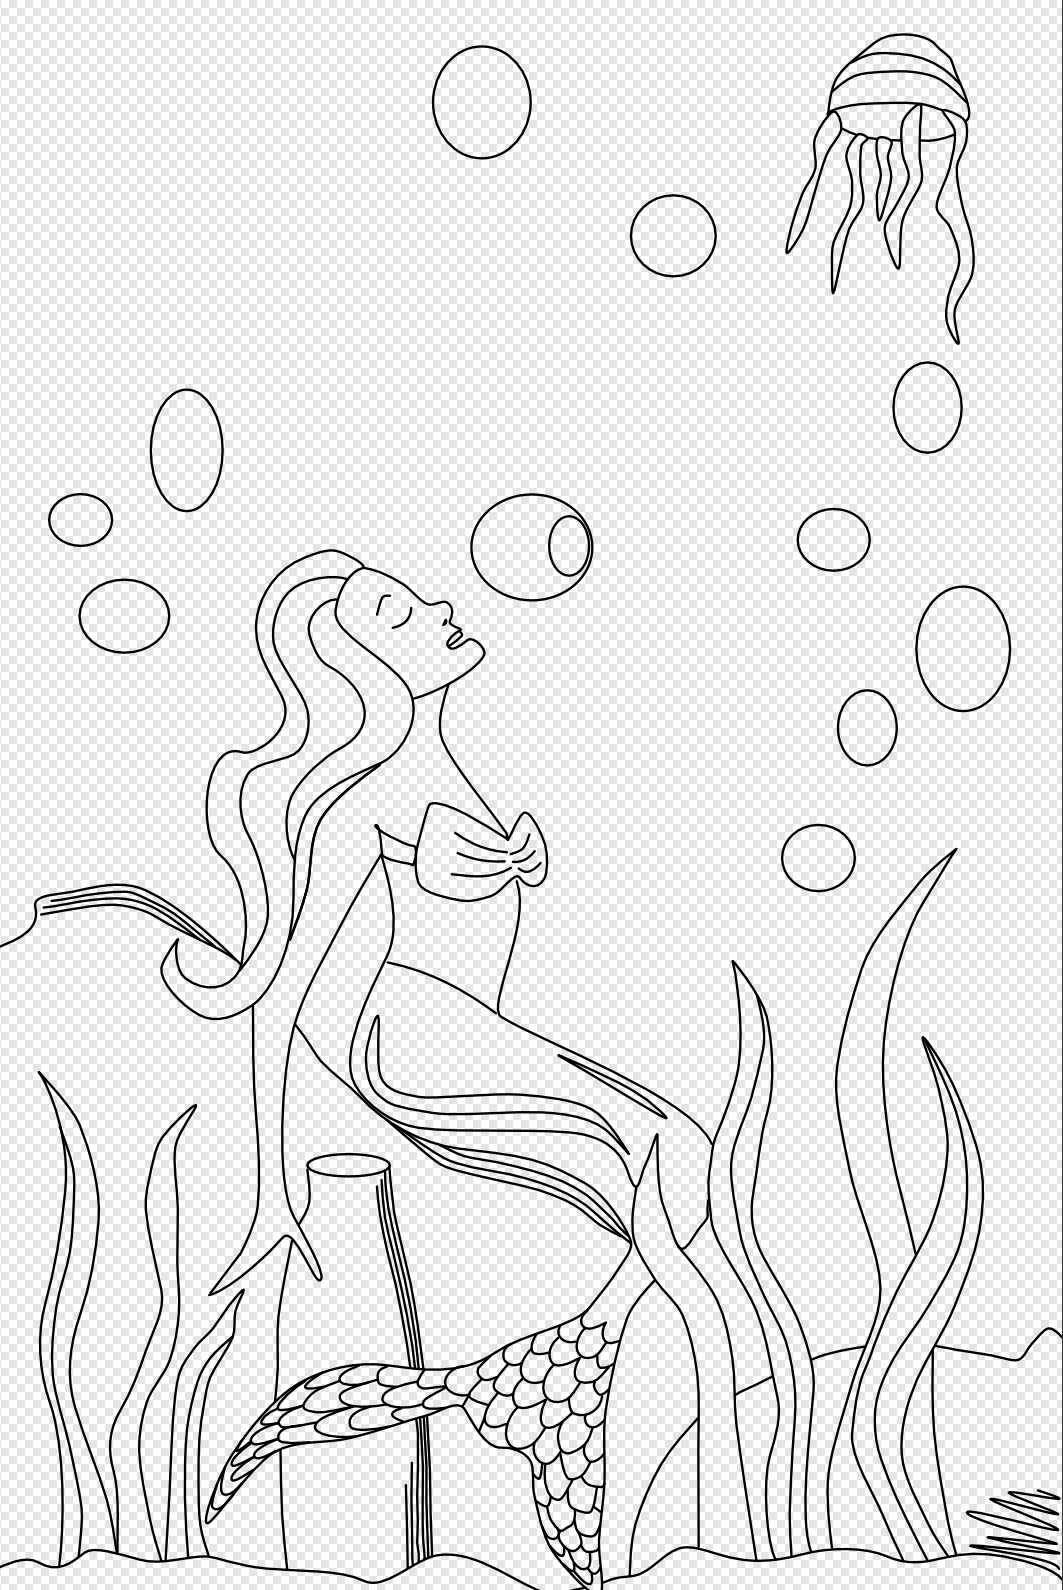
Lastly I brought it into my Stitch Artist (the programme I use to digitise) and started converting the image into a stitched programme which my embroidery machine could read and stitch out. In total this took me about 60 hours to get to this stage. Then came the exciting day of actually stitching out.

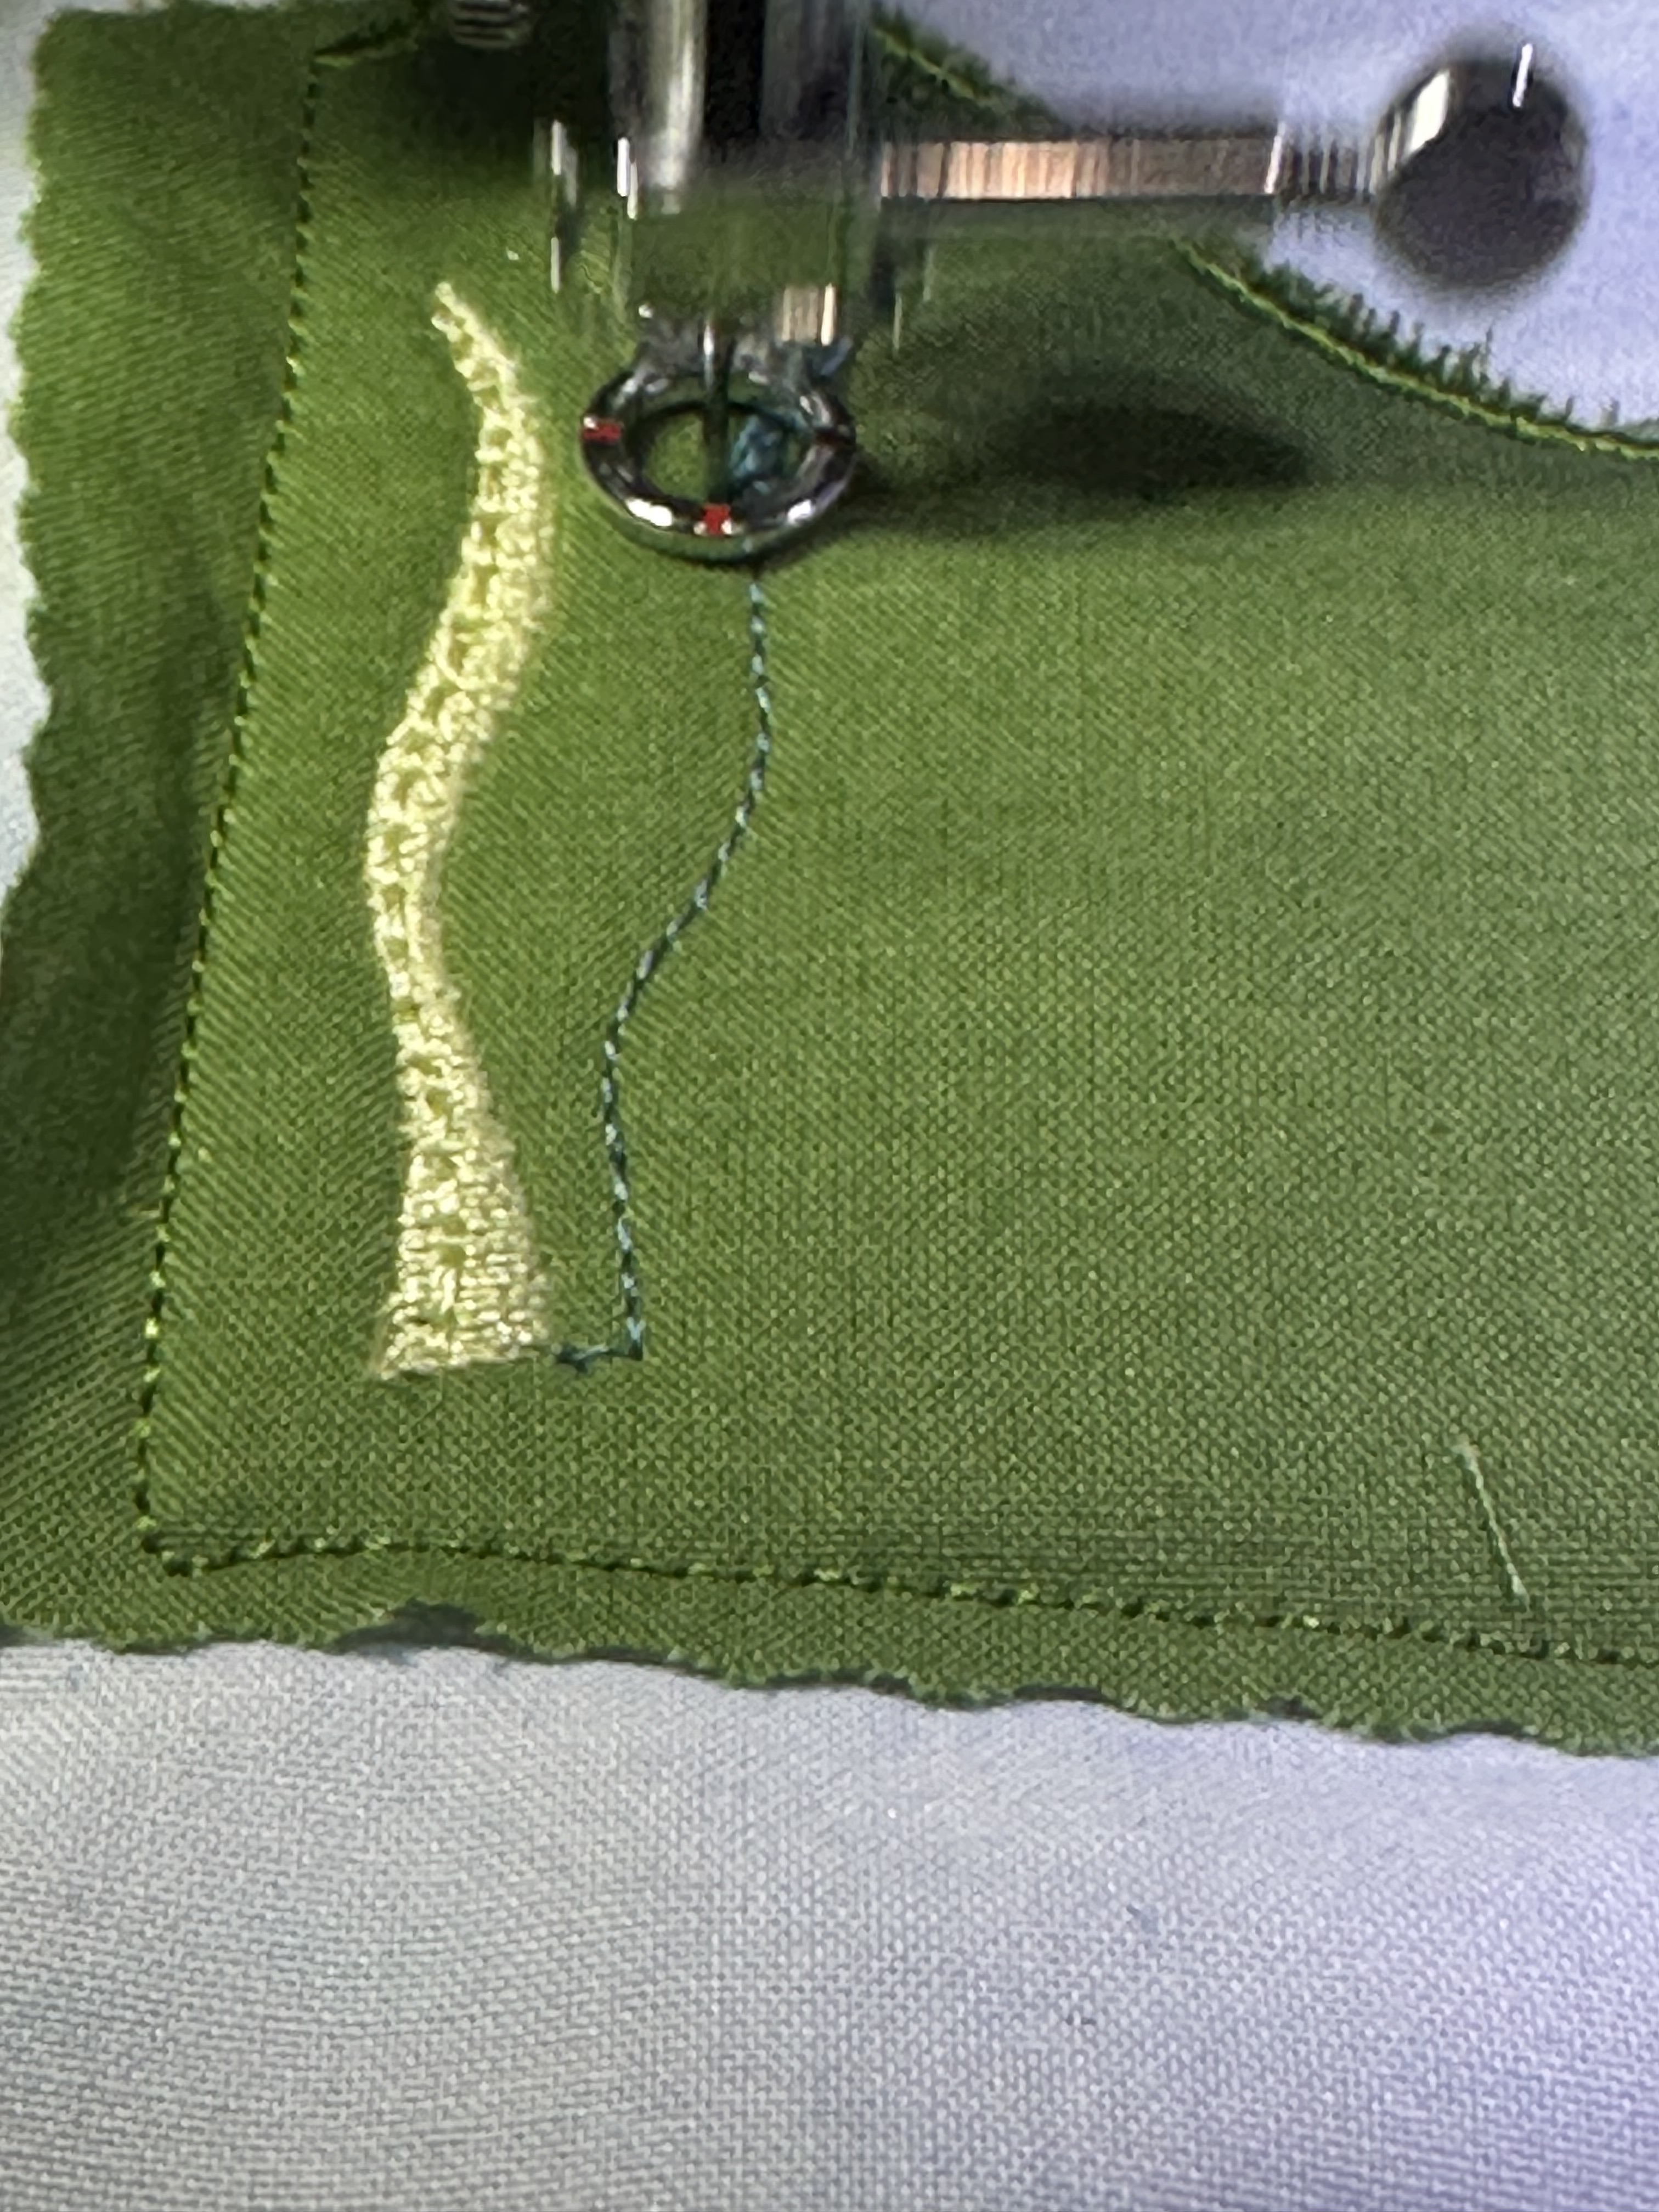
I’d sequenced the stitch out to start with the bubbles and then as in layers ending with the parts of the image I wanted in the forefront. Some parts were applique both rough edged and enclosed with satin stitch and others embroidery. Using a mix to add texture and visual interest, as well as a variety of fabrics, including vinyl, velvet and cotton.


I wont go into the specifics here about the actual design (saving that for another post) however, this first one taught me so much and although very simple, has inspired me to continue this journey.😊
Thanks for taking the time to read this post. Please consider following me here, on facebook or instagram and be in with a chance of being picked at random for a prize.
Take care hugs Debs x
